The first prop I made was the bin. To make this model I started with a cylinder. I then selected the top poly and every other set of polys around the cylinder. I then inset and extruded the new polys.
![](https://blogger.googleusercontent.com/img/b/R29vZ2xl/AVvXsEieUDves8EJvF4TqrADHosenecC_qMIjeXkN8am6QVldglfFK1eXEVBE3SePBQu4EgmcXFM1y2uFk_Ci3N2VUoTapI3fZs3pcWHxEsnT0upG1lyVyqFB4AKZV9LbUYTMj1tIIFWKfsI0zM/s400/bin+1.jpg)
I then selected two sets of two polys at the top of the cylinder and extruded them out and round, connecting them to form handles.
I added a smooth modifier and set the smooth selection on the polys to add sharp connection edges on the top, bottom and handles of the bin.
I finally added a UVW Map and applied a metal material with edited specular and gloss parameters.
![](https://blogger.googleusercontent.com/img/b/R29vZ2xl/AVvXsEj9-8QcW58uOCvWK-PX9TUjalSW6JuOkstmjk3VFnBWDYkyS7TyejxhTCF6H2q99pGUbQuKxKFyAWZWSNXRdu9ozRKpa6HoKXVtlhPW_PUar8d7byZO0ZeR4StWg-XvZwoxWNBDPmb-U3E/s400/bin+done.jpg)
The next prop is the lamp post. To create this model I started with a cylinder and extruded scaled it to form the pole. I then deleted the end poly and extruded it round to form the head of the lamp.
I also created a box which was tweaked to form the lamp post hatch and two cylinders. One was scaled to form the lamp bulb, the other to form the hatch handle.
![](https://blogger.googleusercontent.com/img/b/R29vZ2xl/AVvXsEgin76qDFrSgMcp2og_gouB0vaIfPps7nIJXyXJIIeh7UGpHz2pPyy3v-72u9iR-XCBI2eD59Z7CGltOjrf1JLdOrEdOxEFXeILBdtDdpPq0FzFYKvvIltrxKkcD1MA24Z9mOspmforDj8/s400/lampost+1.jpg)
I added a smooth modifier and set the smooth selection on the polys to add sharp connection edges on the bottom of the lamp post.
![](https://blogger.googleusercontent.com/img/b/R29vZ2xl/AVvXsEihgUVnzfHYlhx7EA_YwvBR1RdaQNjDMDqcizvlaXvfOukFAAvQQJJt9VZYkUrSHv_CrOrisFJiVV8YVUkhN616dIdie7PPkaIaD1nxKbvuj3GzGh2hdHZjV80fQWtxdyHaI759bt_Yk3M/s400/lampost+done.jpg)
I finally added a UVW Map and applied a metal material with edited specular and gloss parameters.
To create the newspaper I made a plane with multiple segments. I then added a noise modifer and applied a newspaper material.
![](https://blogger.googleusercontent.com/img/b/R29vZ2xl/AVvXsEghCaCSP5VosLgThyphenhyphenCO-hAFEe-Lqiobtlg8sY8sAbxyohJ_qMqoTongIq7hxwJafGvO9Y-7G173izuqcXSy790fO44N2K0_W_K1IlYCFzefYHGWIez4qPOIbeylo-xckhM1R6GgXP0i3j0/s400/paper+1.jpg)
I then added two bend modifiers which were tweaked to form a crumpled up newspaper.
![](https://blogger.googleusercontent.com/img/b/R29vZ2xl/AVvXsEgiQFOzHKt_FB6O5_Xe1_Qzv2z9-fJB6VHOfxbfaALppoJEPxKVzoGxH7o-3D4BXgDc9voBE_Y55G7QOG80bAuMMJQq2FHJCen3GU4gvLcKYBh71M4DqCkjwf-JrQ_9A0FWd72ShluaxQ0/s400/paper+done.jpg)
To form the pencil prop I made two cylinders and a cone. I rounded off the end of one cylinder and applied materials to each of them.
![](https://blogger.googleusercontent.com/img/b/R29vZ2xl/AVvXsEgCEi6fhEOLHuRgdbun057K3_jVRMFOhEzJ6VKsKTca1drOlzcUlOTudBnNIu56qZmauepWKxRajU4duSmooIu0MtujYYwKgA_j3KWWYXy0hJyWRH65atGPjSz1WedNOyBjSMpeP7d3v0w/s400/pencil+1.jpg)
Finally, I placed all the models together to form the pencil.
![](https://blogger.googleusercontent.com/img/b/R29vZ2xl/AVvXsEh8Iq3mDUvPvOyu-5LZHfYF3-gfEj61eVioKHA6ggqav0uZnlgrHXScBeHbb7jcWOJ5MnlhGwVazajl-L35u6eTMdXRMuTSk_tMxYDJGDGE_LSG3Oh08xr4fY_En8MxzalWsErsrXJHhLo/s400/pencil+done.jpg)
I needed some actual rubbish in the bin so I made a few models.
The paper and wrapper props were planes with multiple segments, the cigarette and drink can were simple cylinders and the apple core was box that was scaled.
![](https://blogger.googleusercontent.com/img/b/R29vZ2xl/AVvXsEjO5aInZxRYEincvrlgwkLs5sIDJS-ZhMWnCoyDHezdu0LQ7UASdlagvDQKwUWOozxwXVRDJ8cQLKVabv3-vbhyphenhyphenELyMsGeIjXdGuc6V6OxVy4OI-tU8IwAapjswnvfwmf64tCKSAJgmwmw/s400/rubbish+1.jpg)
I then added noise and bend modifiers to the paper and wrapper planes.
I finally added UVW maps to the models and added materials.
![](https://blogger.googleusercontent.com/img/b/R29vZ2xl/AVvXsEjdeLeNTsHwrvJuJhVk4lzkJb_GfppmgRpc30mPUcpef-UsN6Vvf5fmB3CkmUYr7jh6yKzT-7UmF5hplmdyWAyjdNmcx8qmyFZgMeiMdHKH47gTLpY-W3BBjk_uj8Ga-4uDELddW2yZKIk/s400/rubbish.jpg)
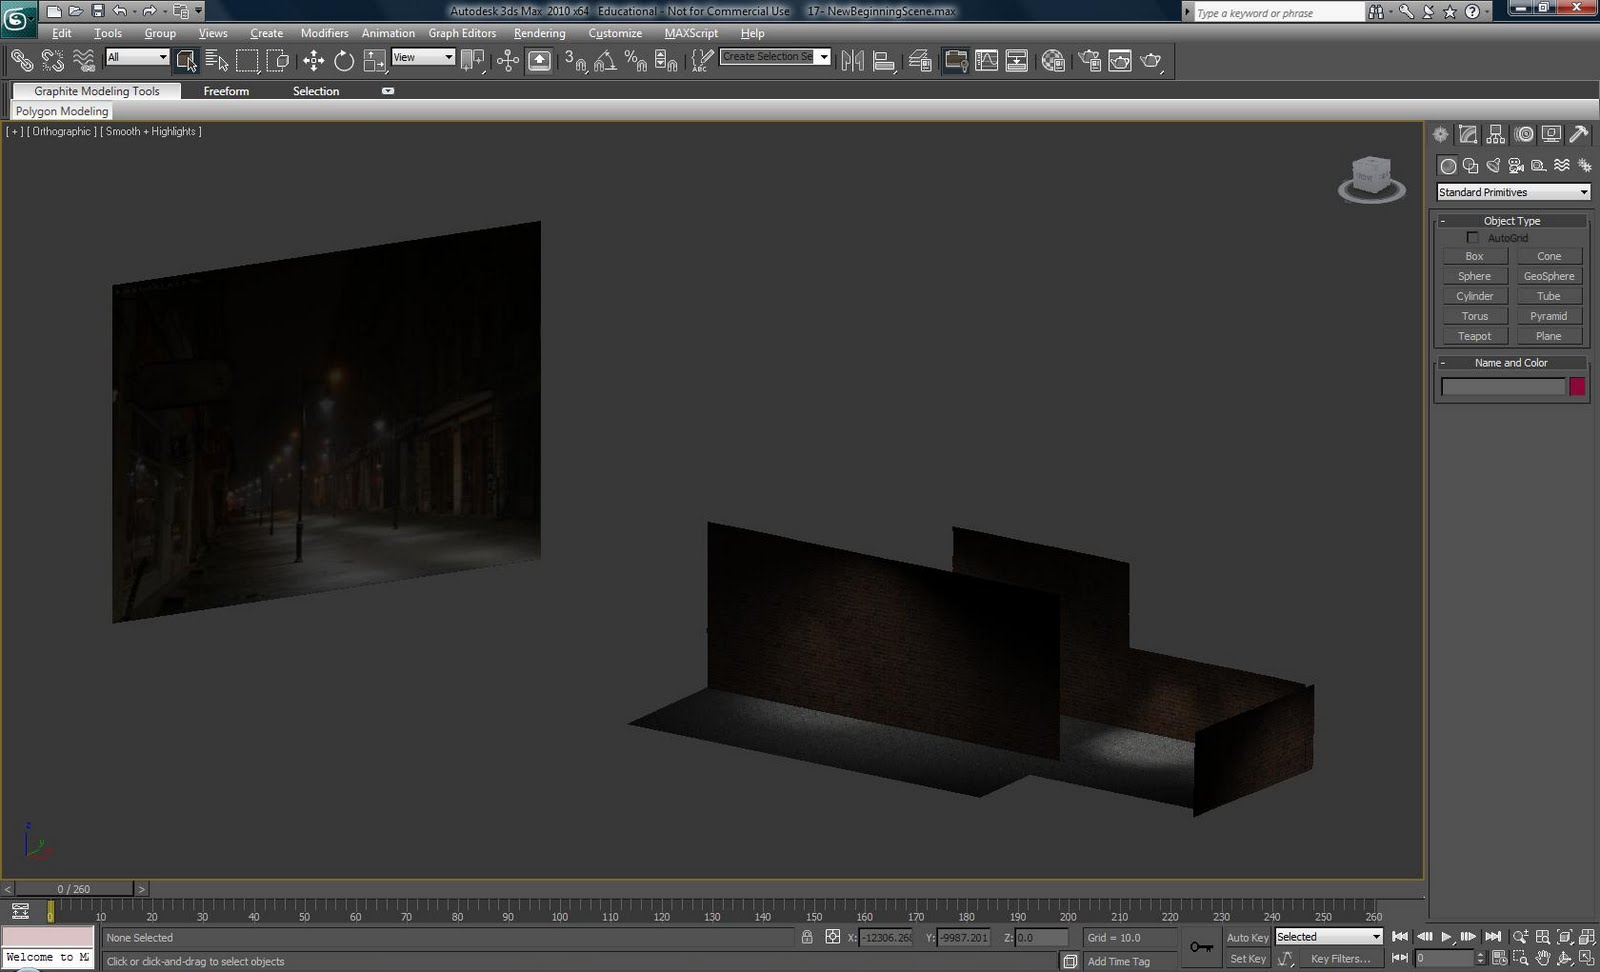
With all the props made all thay was left was to make the scenery. I did this by creating three planes. One had multiple segments and a noise modifier. To this a brick material was added. To the others a floor and town street modifier was added.
I then duplicated the planed and positioned them as needed.
![](https://blogger.googleusercontent.com/img/b/R29vZ2xl/AVvXsEgzNLrmt04_IVGcGksoPuDWQMrRg0UrRXTwkT8L7UxD9hTTymskKEypocYUSO84Ldaa2lGOTUaOWLEgTCIu5LxBXf3caWoiRbs39lUbSQg3kVY8wRkl8LSiXBbu7A3RiyhI7qC84RmtMJY/s400/scenery.jpg)
With all the models needed created I am now ready to start animating.
No comments:
Post a Comment